Start here if you want all the information to decide whether permanent outdoor Christmas lights fit your house. This guide explains parts, power, control, installation process, costs, safety, and upkeep. You will see how permanent holiday LEDs compare to traditional incandescent bulbs and seasonal string lights. Use this to plan a successful installation, save money long term, and avoid burnt out bulbs and tangled wires.
Darren Does That installs permanent lights across Edmonton and area using energy efficient LED lights designed for Canadian winters. The team handles design, power supply sizing, clean wiring, and app setup so the process is safer and the result blends into your home’s exterior.
TL;DR – Beginner’s Guide to Permanent Christmas Lights
- Permanent Christmas lights use energy efficient LED lights in a low profile channel for year round use
- Core parts include LEDs or pixel strings, channel, controller, power supply, and power injection on long runs
- Correct power math and sealed outdoor wiring make the process safer and more reliable
- Upfront cost is higher than string lights but you save time and energy every season
- Professional installation from Darren Does That delivers clean design, durable hardware, and simple control that works through Canadian winters
What Are Permanent Christmas Lights
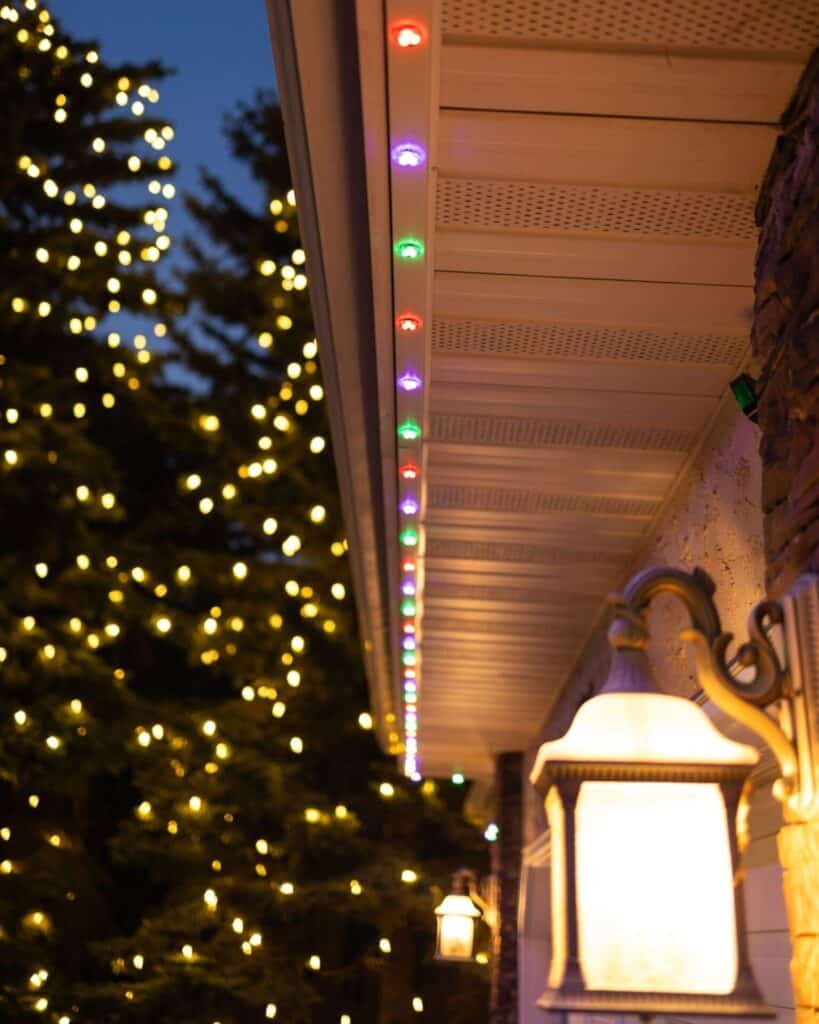
Permanent Christmas lights are weatherproof LED modules mounted inside a low profile track under the soffit and along the rooflines of a home. They stay up year round. You get warm white lights for everyday elegance and full colour options for holidays. Compared to traditional lights you hang from hooks each holiday season, permanent lights use less energy, integrate smart control, and remove wasted weekends on a ladder.
Components You Need to Know
- LED nodes or pixel strings
Addressable LEDs with integrated lenses. Highly energy efficient. Replace single sections if needed. - Track or channel
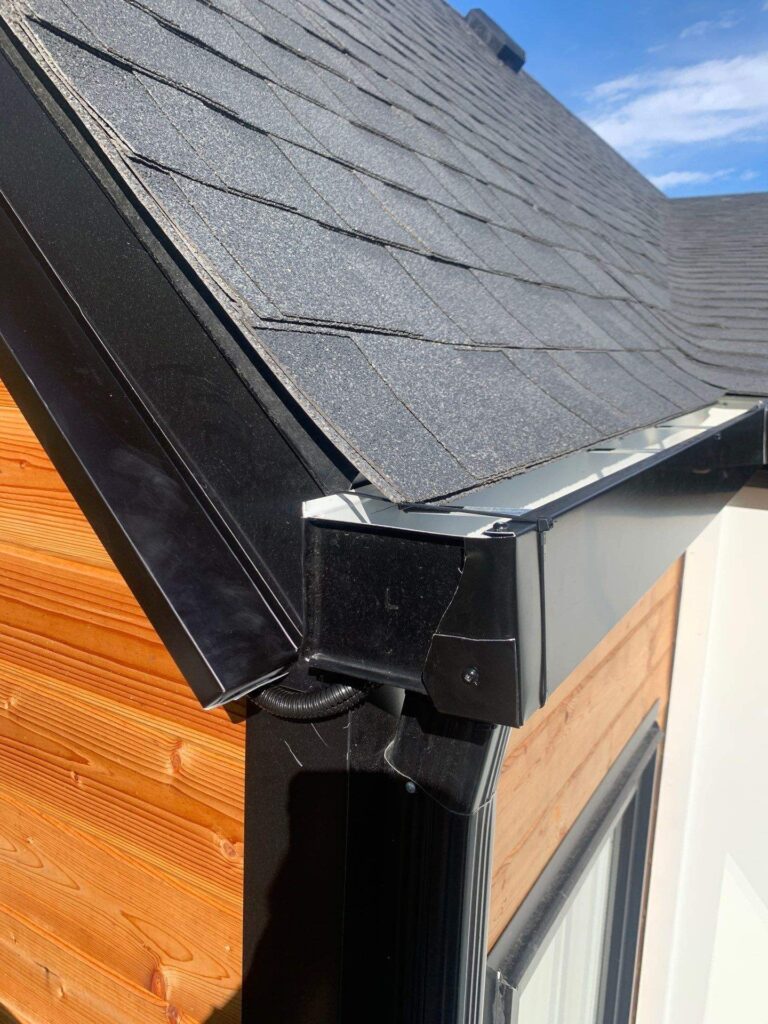
Aluminum or PVC channel profiles that hide and align the LEDs. A variety of profiles allow lights to be adapted to an assortment of roofline designs. - Controller
A small controller that translates instructions from an app into control of the colours and animations of lights. Connects to Wi-Fi for app control. - Power supply
Outdoor rated unit that converts household power into low voltage DC power for lights. Correct sizing prevents dim ends on a long run. - Power injection
Additional power points along long runs of lights. You inject power so every LED gets stable voltage for consistent brightness. - Wiring and connectors
Outdoor rated wire, sealed connectors, and drip loops to keep water out. - Mounting hardware
Colour matched screws and clips that secure the channel without harming soffit, fascia, or gutters.
Energy Efficiency Basics
Permanent holiday LEDs use less energy than traditional incandescent bulbs. LED lights run cool, cut fire hazards, and reduce electricity bills. Schedules and dimming control runtime at night. Expect lower cost to operate than seasonal string lights even with daily use.
Planning the Installation
- Measure
Use a tape measure. Record each roofline and peak. Note obstacles, downspouts, and gaps. Round up for waste. - Design
Choose channel placement under the overhangs. Plan transitions between sections of roofline to minimize visibility. - Power source
Identify a safe outdoor use circuit. Confirm a grounded outlet with GFCI protection. Avoid sharing with heavy loads. - Controller location
Place near the primary power source with a dry, ventilated path. Ensure Wi-Fi signal is strong. - Calculate power
Multiply the total LED count by the wattage of an individual LED. Select a power supply with at least an additional 30% of power to the LED calculation. Plan power injection every defined length on a long run. - Parts list
LEDs or pixel strings, channel, controller, power supply, injection tees, outdoor wire, connectors, fasteners, sealant.
Darren Does That handles measurement, power math, and layout so you can avoid costly mistakes.
Installation Process
- Prep
Unbox and test LEDs and controller on the ground. Mount LEDs in channel. Confirm scope of work. - Controller and powerMount the controller and power supply near to and plug into a GFCI outlet. Connect the controller to WiFi
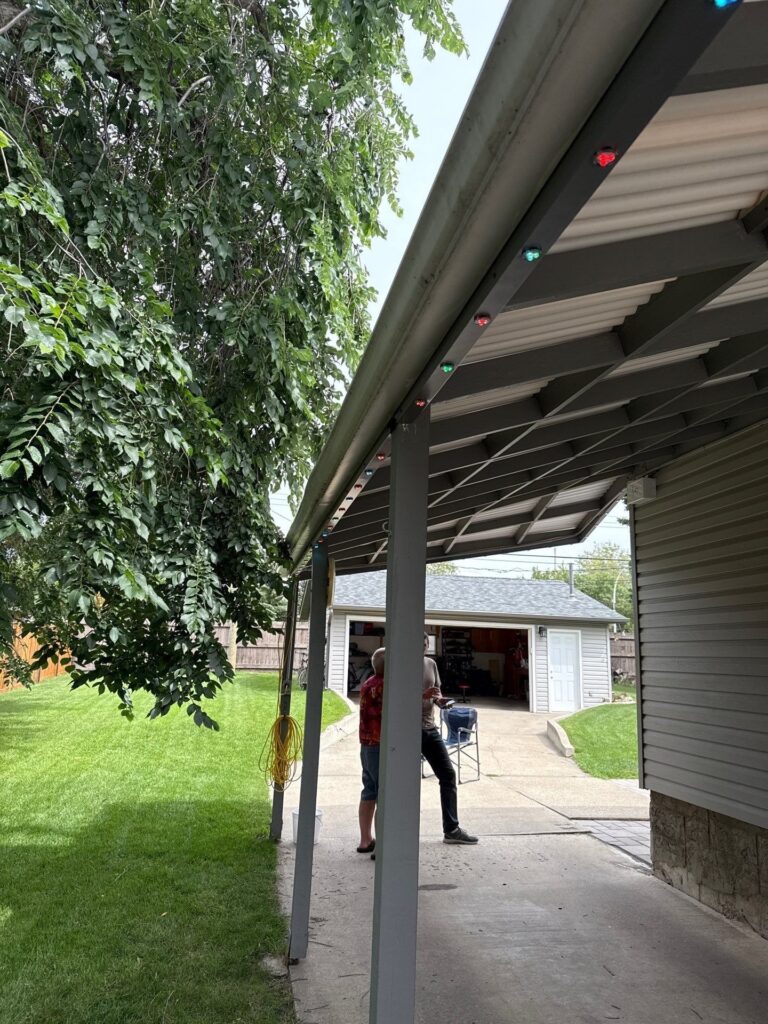
- Mount channel
Attach channel in straight lines. Keep a consistent setback from the edge. Protect vent holes. - Run wires
Use outdoor rated wire and sealed connectors. Protect exposed wire with loom or a sheath. Create drip loops at entry points. Avoid pinch points and sharp bends. - Power injection
Inject power where voltage drops along a long run. You can use a multimeter to test the voltage at any point in the line. Keep the voltage within 5% of the nominal lighting voltage (most commonly 12 volt or 24 volt). Failing to keep voltage up will result in dim or off-colour sections. - Program and test
Set warm white scenes for nightly use. Create holiday lights for December and Halloween orange for October. Walk the perimeter at night to confirm uniform brightness. - Document
Label zones and save a diagram. Record controller login. Photograph cable paths for future service.
Most homeowners will get a cleaner outcome with one professional installation. Darren Does That uses high quality materials and sealed connections sized for extreme weather so lights work through Canadian winters.
Safety and Code Notes
- Use outdoor rated wire, connectors, and power supplies
- Keep penetrations sealed and routed below eaves to avoid water paths
- Respect circuit limits to prevent overload
- Tie and secure loose wires to avoid abrasion and wind damage
- Test GFCI operation and keep power supplies away from moisture.
Cost Overview
- Hardware
LED nodes or pixel strings, channel, controller, power supply, wiring, connectors. Permanent systems cost more than simple string lights. - Labor
Mounting, wiring, power injection, and app setup. Professionally installed systems look cleaner and last longer. - Operation
Energy efficient LED bulbs mean less energy, smaller electric bill, and fewer frequent replacements.
Typical Edmonton ranges for full installs: bungalows start at 1500, simple two story from about 2200, intricate or long run designs from about 3800. Exact price depends on footage, peaks, and power injection complexity.
Control and Everyday Use
- App control for on, off, dimming, schedules, and colour variations
- Zones for independent control on home sections
- Sunrise and sunset automation to save energy
- Savable custom patterns and favourites lists.
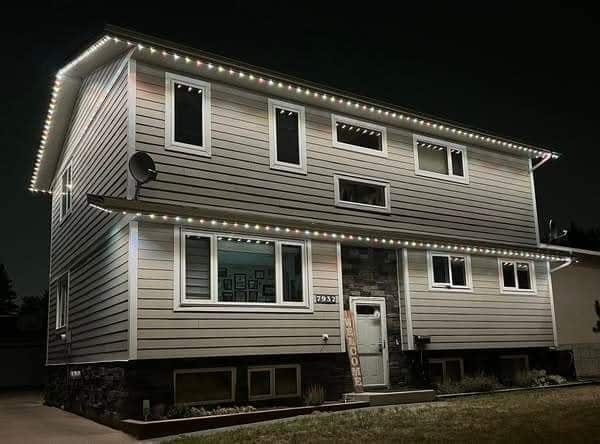
Use warm white nightly to show off your home. Switch to colour for holidays, game nights, or family events.
Comparing to Traditional Lights
- Traditional incandescent bulbs
High power draw. More heat. Higher fire risk. More replacements. Time consuming to hang lights and remove them. - Seasonal LED string lights
Lower power but still need annual ladders and storage. Tangled cords. Old bulbs fail and sections die. - Permanent LED systems
Higher upfront cost. Less energy. Safer operation. No yearly ladder work. Clean lines that boost curb appeal year round.
Maintenance
- Clean channels as you would clean the rest of your home exterior
- Inspect exposed transitions for signs of wear
- Update controller firmware when available
- Log any dim sections and schedule service if power injection points need attention
Darren Does That provides before and after photos, clear warranty terms, and local service if a section ever needs replacement.
What Clients Report After Install with Darren Does That
- Faster quotes and clear pricing with no pressure
- Crews who arrive on time, keep wiring tidy, and clean the work area
- Permanent holiday LEDs that look subtle by day and impressive at night
- Easy app control to change colours and schedules without confusion
These are consistent with 500 plus five star reviews in Edmonton.
Audit and Verification Checklist
- LED rated for outdoor use in extreme weather
- Outdoor rated power supplies sized with headroom
- Documented power injection points for every long run
- Controller enclosure protected from water and heat
- Channel lines straight with no sag
- All penetrations sealed and drip loops present
- GFCI tested and ground confirmed
- App function on customer devices confirmed and tutorial provided
Final Tips for a Successful Installation
- Measure twice and plan zones before you buy parts
- Keep wiring hidden and protected inside channel or soffit space
- Use warm white as the default to reduce power and keep a clean look
- Limit night hours to cut electricity bills and reduce light spill
- Photograph everything for future service and upgrades
Final Thoughts
Permanent lights turn holiday decorations into a year round lighting system that is efficient, tidy, and easy to control. Plan the run, size the power, protect the wiring, and confirm a clean install. If you want a set and forget outcome with minimal risk, let a professional handle the installation process. Darren Does That builds permanent outdoor Christmas lights that look intentional at night and disappear by day.